Energy
When you click on the "energy" icon in the icon list, this page is displayed.
This dashboard is designed to provide a quick overview of your energy production and consumption. It includes many data presentation widgets, which you can enable or disable according to your preferences.
You also have the possibility to control your various energy consuming devices directly from this interface.
All displayed elements are generated automatically, allowing you to enrich your energy monitoring at any time. Simply install a new device capable of measuring or controlling your consumers, and it will be integrated automatically, regardless of its technology.
Let's explore a concrete example together to better understand how it works, starting with the key step: display configuration.

Display
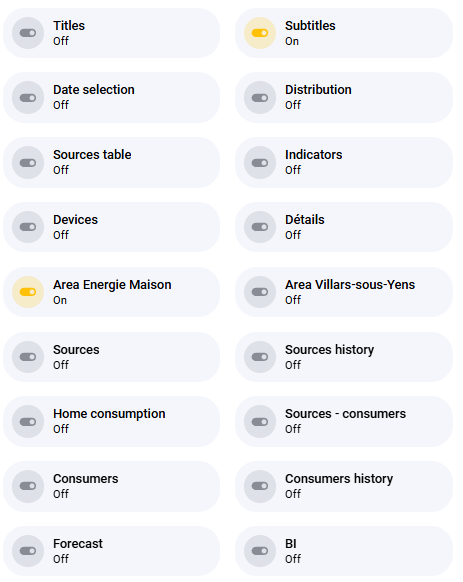
As in other dashboards, you can customize the display by enabling or disabling information panels via the "settings" button. Some panels, as you will see, also offer additional features to enrich your experience.

Energy - Overview
This set of display panels allows you to have an overview over a day or period of all the essential indicators of your energy system.
Using the "date" panel you can navigate to another date or select a period.

Display focused on consumption management
As mentioned before, all measurement elements are automatically integrated into this presentation.
The display breaks down as follows:
Left: Energy sources.
In the center: a synthetic view showing the relationship between sources and consumers, with the total instantaneous consumption.
On the right: the list of all measured and controllable consumers.
Below: indications of current, forecast and planned solar production. This is based on seasons, the position of your building, the weather, etc.
The icons to the right of the different elements offer the following functionalities:
Turn on/off a consumer.
Enable/disable automation rules.
View detailed charts.
Configure the behavior of the element.

Display oriented towards consumption management - analysis
Let's look at this in detail to better understand the data displayed:
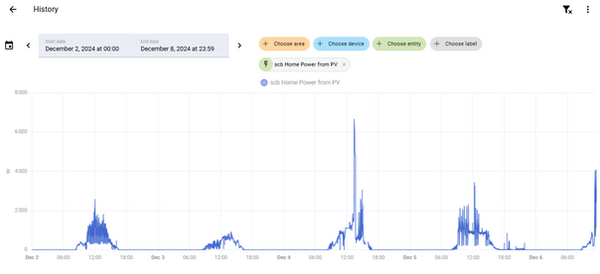
Left: A detailed graph of solar production. You can examine this data in more depth using the graph below, which shows production over a week. This graph is accessible in just two clicks from this interface.
Right: graphs of two specific consumers, namely the electric car charger and the consumption of an office with its IT equipment.
These visualizations make it easy to quickly identify trends and analyze energy behaviors at a glance.


Display oriented towards consumption management - automation
Let's now move on to a concrete example: managing the charge of an electric car.
Note that the interface elements displayed here are in English, but in reality they will be translated into your language, so no worries!
In this example, we show you how the automation settings work. These settings are applicable to all types of consumers, without exception.
Important : Values of 0 or 00:00 are ignored. Only the specified values are taken into account.
The parameter numbers reflect their priority : the tests are performed in the order indicated. This allows renewable energy sources to be prioritized first for optimized energy management.
Activation
"When I'm at home"
The charger is automatically turned off when you are away."Solar Exceeding"
The consumer only activates if solar production exceeds a defined kW threshold."Battery status"
The consumer is only activated if the battery is sufficiently charged."Before the solar peak"
This setting optimizes solar energy usage by scheduling activation before the daily peak, even if solar production does not always reach that peak."At this time"
Allows you to force activation at a specific time, useful for ensuring the car is charged early in the morning, for example on weekdays.
Deactivation
"Solar Below"
Turns off the consumer when solar production becomes insufficient."Battery below"
Turns off the consumer if the battery charge drops below a defined threshold."After the solar peak"
Turns off the consumer after a specified delay following the solar peak."Light up during"
Allows you to limit the operating time since its activation."Turn off at"
Ensures that the consumer will be turned off at a specific time.
These settings provide complete flexibility to optimize the use of available energy while adapting to your needs.
